Handling File Uploads in Express with Multer
Uploading files is one of the most common features in modern web applications. Social media platforms upload profile pictures, e-commerce sites upload product images, and job portals upload resumes. But handling files in Node.js is not as simple as receiving normal text data from a form.
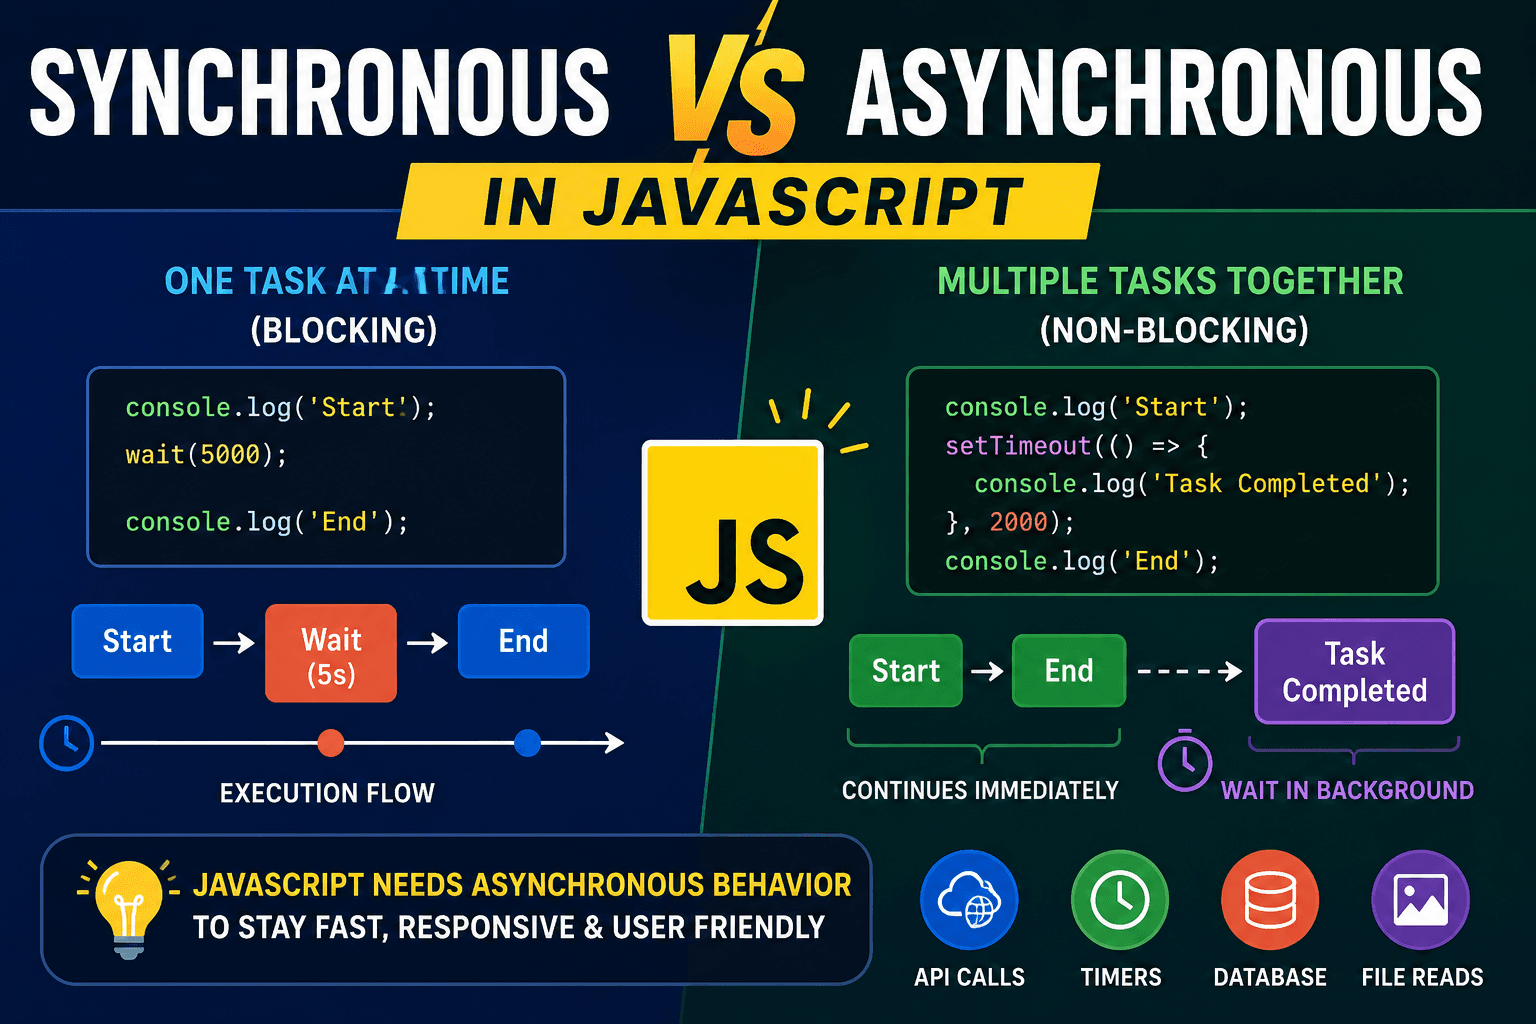
When users submit text fields, Express can easily read them using middleware like express.json() OR. File uploads work differently because browsers send them using a special format called 'multipart/form-data'.
This format is designed for transferring binary data like images, PDFs, videos, and documents. Express cannot handle multipart form data by default. That is why middleware is required.
This is where Multer becomes useful.
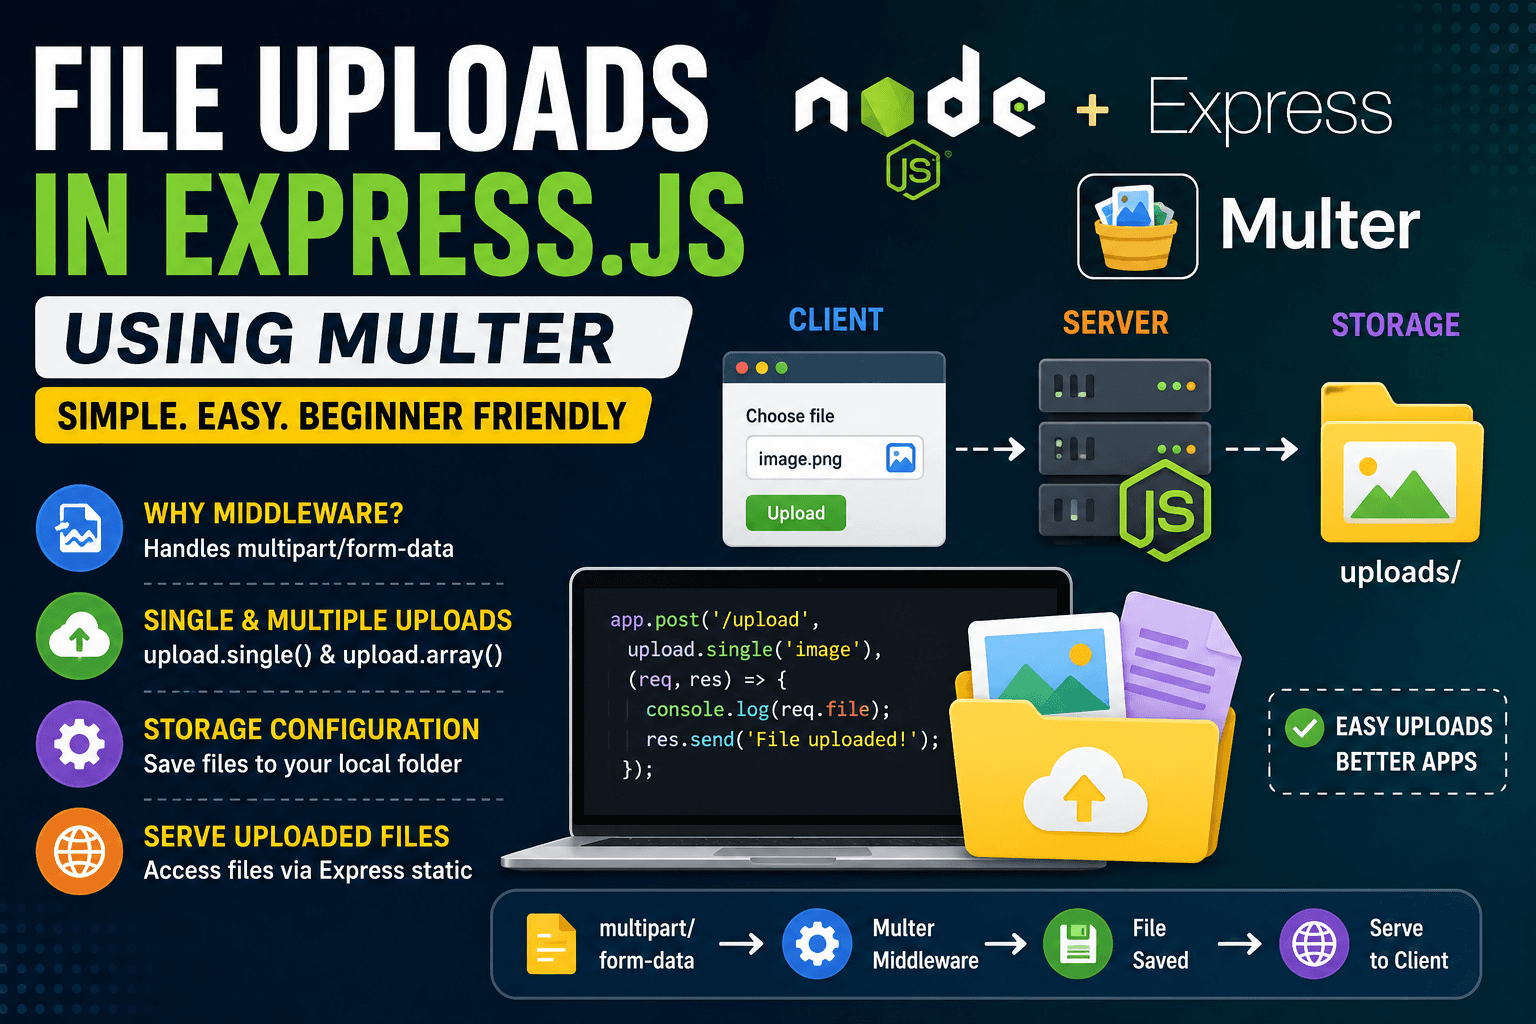
Multer is a middleware for Express.js that handles file uploads easily. It processes incoming multipart form data and stores uploaded files on the server.
First, install Multer:
npm install multer
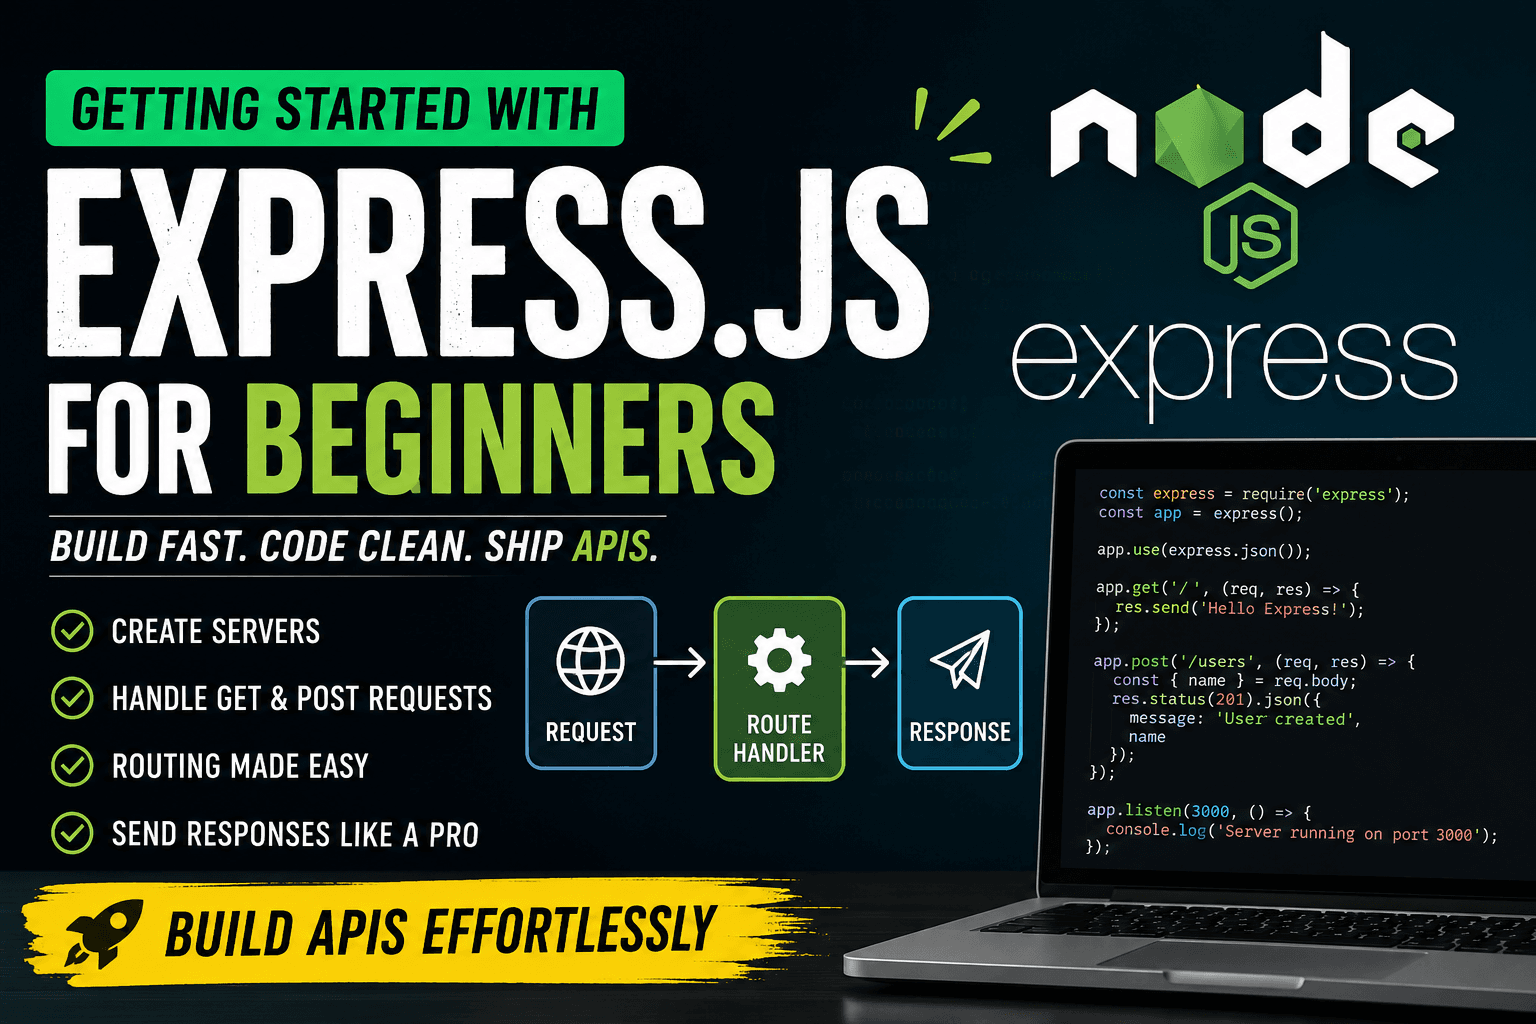
Now create a simple Express server.
const express = require("express");
const multer = require("multer");

const app = express();

app.listen(3000, () => {
  console.log("Server running on port 3000");
});
Before handling uploads, we need a storage location. Usually, developers create a uploads folder where files will be stored.
Now configure multer storage.
const storage = multer.diskStorage({
  destination: function (req, file, cb) {
    cb(null, "uploads/");
  },

  filename: function (req, file, cb) {
    cb(null, Date.now() + "-" + file.originalname);
  },
});

const upload = multer({ storage: storage });
Here, it destination decides where files will be stored and filename controls the final file name.
The Date.now() part prevents duplicate filenames.
Now let’s handle a single file upload.
app.post("/upload", upload.single("image"), (req, res) => {
  res.send("File uploaded successfully");
});
upload.single("image") This means it's stored, and Multer expects one file with the field name "image".
Here is a simple HTML form for testing:
<form action="/upload" method="POST" enctype="multipart/form-data">
  <input type="file" name="image" />
  <button type="submit">Upload</button>
</form>
The enctype="multipart/form-data" Part is extremely important. Without it, the browser will not send the file correctly.
The upload flow looks something like this:
User selects a file
The browser sends multipart form-data
Multer middleware processes the request
The file gets stored inside the uploads folder
The server sends a response
This middleware sits between the request and the route handler. It extracts file data before the final route logic executes.
After uploading, Multer adds file information to req.file.
app.post("/upload", upload.single("image"), (req, res) => {
  console.log(req.file);

  res.send("Upload complete");
});
You will see details like the following:
{
  fieldname: 'image',
  originalname: 'photo.png',
  filename: '171234567-photo.png',
  path: 'uploads/photo.png'
}
Now let’s upload multiple files.
app.post("/photos", upload.array("photos", 3), (req, res) => {
  res.send("Multiple files uploaded");
});
Here:
"photos"is the field name3is the maximum allowed file count
HTML form:
<form action="/photos" method="POST" enctype="multipart/form-data">
  <input type="file" name="photos" multiple />
  <button type="submit">Upload</button>
</form>
For multiple uploads, Multer stores file information inside req.files.
console.log(req.files);
One common beginner question is why middleware is needed at all.
Imagine Express receiving a large image file directly without processing. Express only understands raw request streams. Multer reads the multipart data, separates file content from normal form fields, and prepares everything in a usable format.
Without middleware, file handling would become much more complicated.
Another important feature is serving uploaded files back to users. Suppose someone uploads a profile picture and you want to display it later.
Express can expose the uploads folder publicly.
app.use("/uploads", express.static("uploads"));
Now uploaded files can be accessed using URLs like:
http://localhost:3000/uploads/photo.png
This is how many beginner-level image upload systems work.
Multer also supports file validation and limits. For example, you may want to allow only images.
const upload = multer({
  storage: storage,

  fileFilter: function (req, file, cb) {
    if (file.mimetype.startsWith("image/")) {
      cb(null, true);
    } else {
      cb(new Error("Only images allowed"));
    }
  },
});
This checks the MIME type before storing the file.
You can also limit file size.
const upload = multer({
  storage: storage,
  limits: {
    fileSize: 1024 * 1024,
  },
});
This allows files up to 1 MB.
In real-world applications, developers often upload files to cloud storage services like AWS S3 or Cloudinary. But for beginners, local storage is the best way to understand how uploads actually work.
Multer makes the entire upload process simple and organised. Instead of manually handling binary streams, developers can focus on application logic while Multer processes the files in the background.
Today, Multer is widely used in Express applications for handling profile pictures, documents, PDFs, videos, resumes, and many other types of uploads. Understanding Multer properly is an important step for anyone learning backend development with Node.js and Express.