Object-Oriented Programming in JavaScript: Classes and Objects Explained
In this article, we are going to learn about Object-Oriented Programming (OOP) in JavaScript and how this programming approach helps us to write code in a manner that can improve the overall readability, reusability, and maintainability.
What is Object-Oriented Programming (OOP)
It's a programming paradigm where we structure our program using objects that represent real-world entities. In this approach, without writing multiple variables and function which ultimately make our code verbose use built-in classes that group related data and write methods to build encapsulation.
For example
A Car has properties like:
brand
color
speed
And behaviors like:
start()
stop()
accelerate()
OOP helps us model such real-world structures directly in code.
How Object-Oriented Programming Works
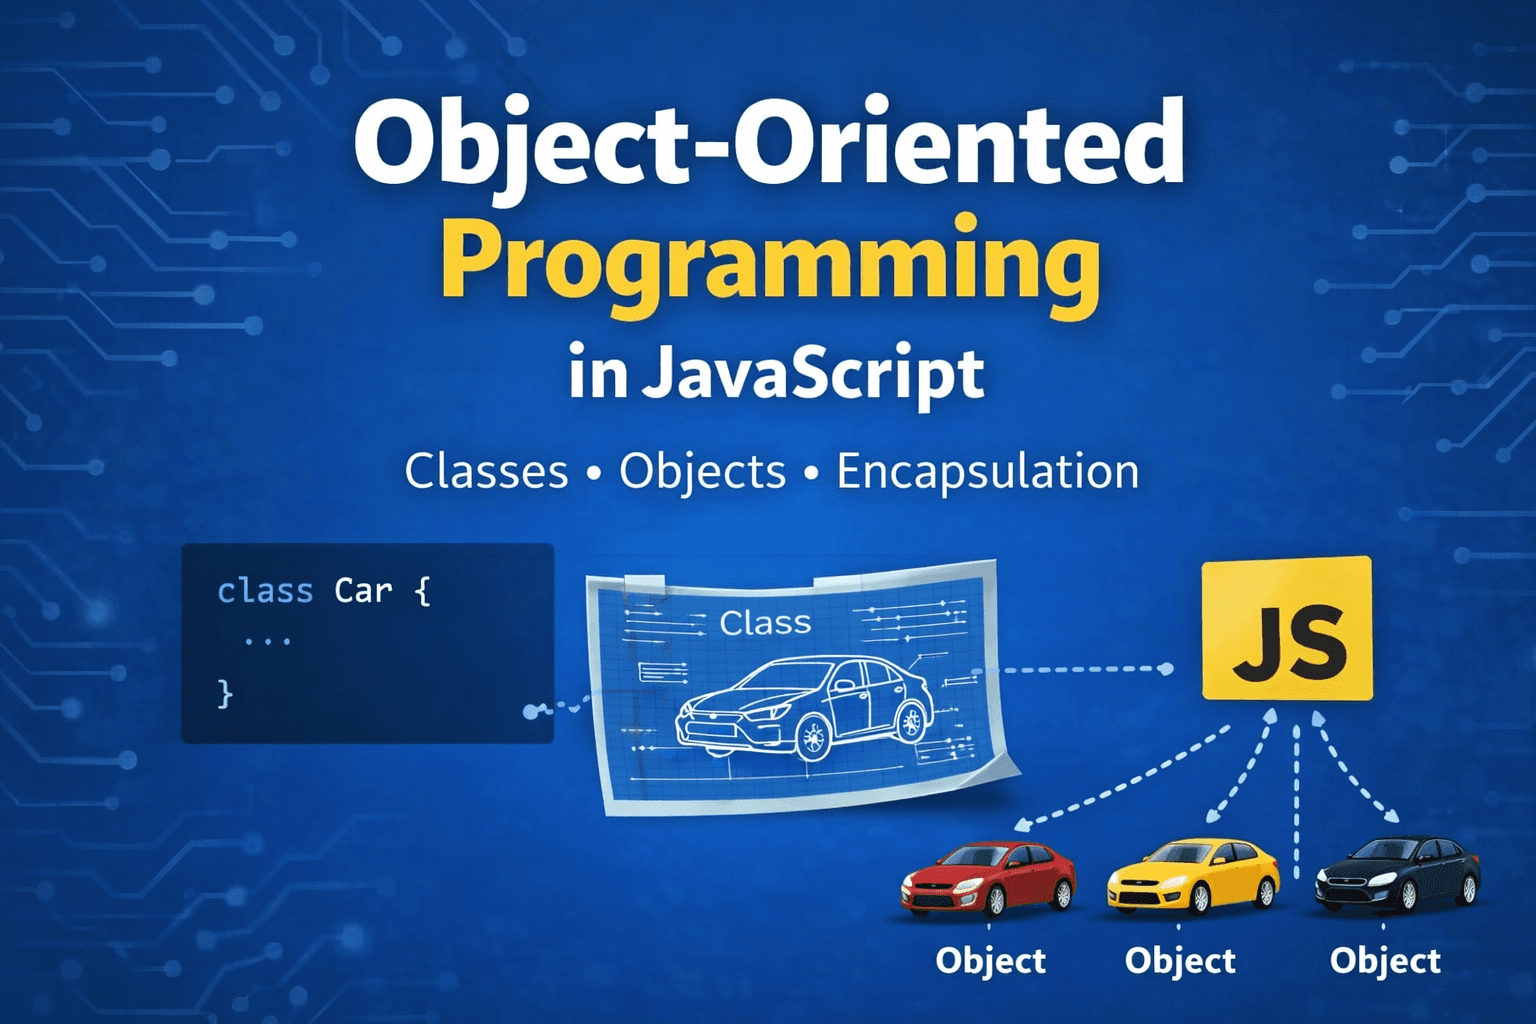
To understand OOPS better, let's take a simple analogy. Think about a car blueprint used in a factory.
It mostly describes these two things.
What properties the car will have (eg, color, engine, wheels)
What behaviour can it perform? (eg. start, stop, accelerate)
But this is a blueprint, not a car. But all cars must have these features.
So we can say that the class is the blueprint and the object is the actual implementation of that blueprint.
        Car Blueprint (Class)
               |
      -----------------------
      |          |          |
   Car1       Car2       Car3
 (Object)    (Object)    (Object)
What is a Class in JavaScript
In object-oriented programming, we wrap code around classes, which act like a blueprint.
In classes, we have Properties and methods.
Properties are data
Methods are functions.
Syntax
class ClassName {
    constructor() {
        // initialize properties
    }

    methodName() {
        // behavior
    }
}
Note: The class does not create object automatically. When we create a instance of the class then the object is actually created.
Creating Objects Using Classes
To create objects from a class, we use the new keyword.
Example
class Car {
    constructor(brand, color) {
        this.brand = brand;
        this.color = color;
    }

    start() {
        console.log(`${this.brand} car started`);
    }
}

// Creating Object
let car1 = new Car("Toyota", "Red");
let car2 = new Car("BMW", "Black");

car1.start(); // Toyota car started
car2.start(); // BMW car started
Here Car is the blueprint and car1 and car2 is the Object.
Constructor Method
The constructor is a special method that can only be used in a class. It automatically runs when a new object is created. It is used to initialize properties of the object.
Example:
class Person {
    constructor(name, age) {
        this.name = name;
        this.age = age;
        console.log(`Constructor called for ${this.name}`);
    }
}

// Creation time
let p1 = new Person("Rahul", 25);
let p2 = new Person("Anita", 30);

console.log(p1.name); // Rahul
console.log(p2.age);  // 30

/* Output
Constructor called for Rahul
VM64:5 Constructor called for Anita
VM64:13 Rahul
VM64:14 30
*/
The constructor helps us avoid manually assigning properties for each object.
Methods Inside a Class
Methods are the functions that define the behaviour of objects.
Example
class Person {
    constructor(name, age) {
        this.name = name;
        this.age = age;
    }

    introduce() {
        console.log(`Hello, my name is \({this.name} and I am \){this.age} years old.`);
    }
}

// Method usages
let person1 = new Person("Amit", 22);
let person2 = new Person("Riya", 24);

person1.introduce();
person2.introduce();
Note: Each object has different reference in memory, so one object properties is different from another object's properties.
Example
class Student {
    constructor(name, age) {
        this.name = name;
        this.age = age;
    }

    printDetails() {
        console.log(`Student Name: ${this.name}`);
        console.log(`Student Age: ${this.age}`);
    }
}
let student1 = new Student("Arjun", 20);
let student2 = new Student("Meera", 19);

student1.printDetails();
student2.printDetails();

/* Output
Student Name: Arjun
Student Age: 20

Student Name: Meera
Student Age: 19
*/
Here we wrote the logic once but used it multiple times. An advanced usage case is LinkedList, where we create a node class, then use it every time to insert another node.
What is Encapsulation
Encapsulation means bundling data and methods together inside a single unit (class).
Instead of writing separate variables and functions across the program, we organize them inside the class.
Encapsulation helps us:
Keep code organized
Protect data
Control how data is accessed
For example:
class BankAccount {
    constructor(owner, balance) {
        this.owner = owner;
        this.balance = balance;
    }

    deposit(amount) {
        this.balance += amount;
    }

    withdraw(amount) {
        this.balance -= amount;
    }
}
Here:
Balance is data
deposit() and withdraw() are methods
Both are wrapped inside the same class.
This structure improves code maintainability and security.
Assignment
Try implementing the following exercise.
Task
Create a class called Student.
Requirements:
Add properties:
name
age
Add a method:
- printDetails()
Example Implementation
class Student {
    constructor(name, age) {
        this.name = name;
        this.age = age;
    }

    printDetails() {
        console.log(`\({this.name} is \){this.age} years old`);
    }
}

let s1 = new Student("Rahul", 21);
let s2 = new Student("Priya", 20);

s1.printDetails();
s2.printDetails();
Try creating multiple student objects to understand how classes work.
Diagram Ideas for This Topic
You can include these diagrams in the blog for better understanding.
Blueprint to Object
     Car Blueprint (Class)

        ↓       ↓       ↓

      Car1    Car2    Car3
     (Object) (Object) (Object)
Class to Instance Relationship
Class: Student
   |
   |--- student1
   |--- student2
   |--- student3
These visuals help beginners quickly understand the concept.
Conclusion
Object-Oriented Programming is a powerful way to structure code.
By using classes and objects, we can write programs that are easier to understand, reuse, and maintain.