Setting Up Your First Node.js Application Step-by-Step
Overview
Node.js allows us to run JavaScript outside the browser. It is built on Chrome’s V8 JavaScript engine and is mainly used for backend development, APIs, real-time apps, and automation tools.
Before building applications with Node.js, it is important to understand how to install it, run JavaScript files, and use the Node runtime properly.
Installing Node.js
To install Node.js, go to the official website of Node.js and download the LTS (Long Term Support) version.
The installation process is mostly the same for all operating systems:
Download the installer
Run the setup
Keep the default options
Finish installation
Node.js also installs npm (Node Package Manager) automatically, which is used to install packages later.
Checking the Installation
After installation, open your terminal or command prompt and run:
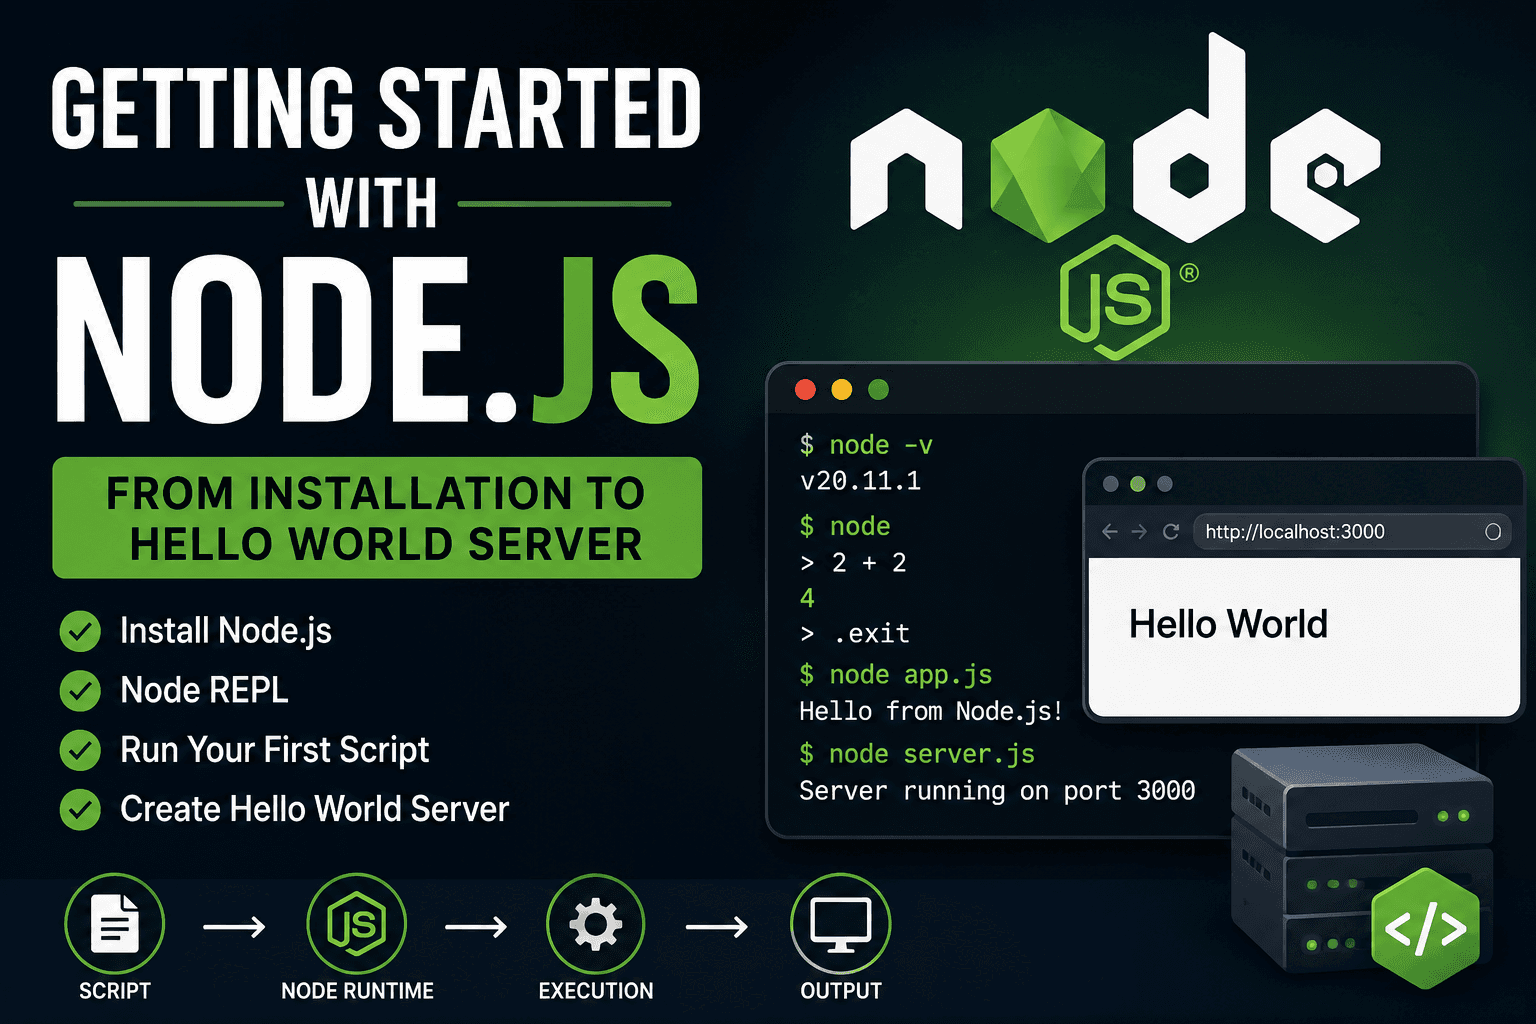
node -v
This shows the installed Node.js version.
Example:
v24.1.0
Now check npm:
npm -v
If both commands return versions, Node.js is installed correctly.
Understanding Node REPL
Before writing actual files, Node.js provides something called the REPL.
REPL stands for:
Read
Evaluate
Print
Loop
It is an interactive environment where we can write JavaScript directly in the terminal and instantly see the output.
Start the REPL using:
node
Now you can write JavaScript:
2 + 2
Output:
4
Another example:
const name = "Pallab";
console.log(name);
The REPL is useful for testing small snippets quickly without creating files.
To exit the REPL:
.exit
Creating Your First JavaScript File
Now let’s create a real JavaScript file.
Create a file named:
app.js
Inside the file write:
console.log("Hello from Node.js");
Save the file.
Running a Script Using Node
Open the terminal in the same folder where the file exists and run:
node app.js
Output:
Hello from Node.js
Here, Node.js takes the JavaScript file, executes it inside the runtime, and prints the output in the terminal.
Node Execution Flow
JavaScript File
       ↓
Node Runtime
       ↓
V8 Engine Executes Code
       ↓
Output in Terminal
This is the basic execution flow of Node.js.
Writing Your First Hello World Server
Node.js can also create servers using built-in modules.
Create a file named:
server.js
Add this code:
const http = require("http");

const server = http.createServer((req, res) => {
  res.end("Hello World");
});

server.listen(3000, () => {
  console.log("Server running on port 3000");
});
Run it using:
node server.js
Now open your browser and visit:
http://localhost:3000
You will see:
Hello World
Script to Runtime Flow
server.js
    ↓
Node Runtime Starts
    ↓
HTTP Server Created
    ↓
Listening on Port 3000
    ↓
Browser Sends Request
    ↓
Server Sends Response
Conclusion
Node.js makes it possible to run JavaScript outside the browser. After installing it, we can use the REPL for quick testing, execute JavaScript files using the node command, and even create servers with built-in modules.
These are the core basics every Node.js developer should understand before moving into frameworks and backend development.